Date Published: 2026-01-02
USB Rasberry Pi 2040 Volume Controller and DAC
I think that today peripherals are more important than the computer that they are plugged into. Finding clean hiss and buzz free audio has been a major challenge, especially for sensitive IEMs (in ear monitors). I noticed that my last DAC (Loxjie D30) had very noticeable hiss and buzz when I started to use IEMs which prompted me to look for a an alternative. IEMs are super comfortable and sound good but this buzzing problem was holding me back from using them.
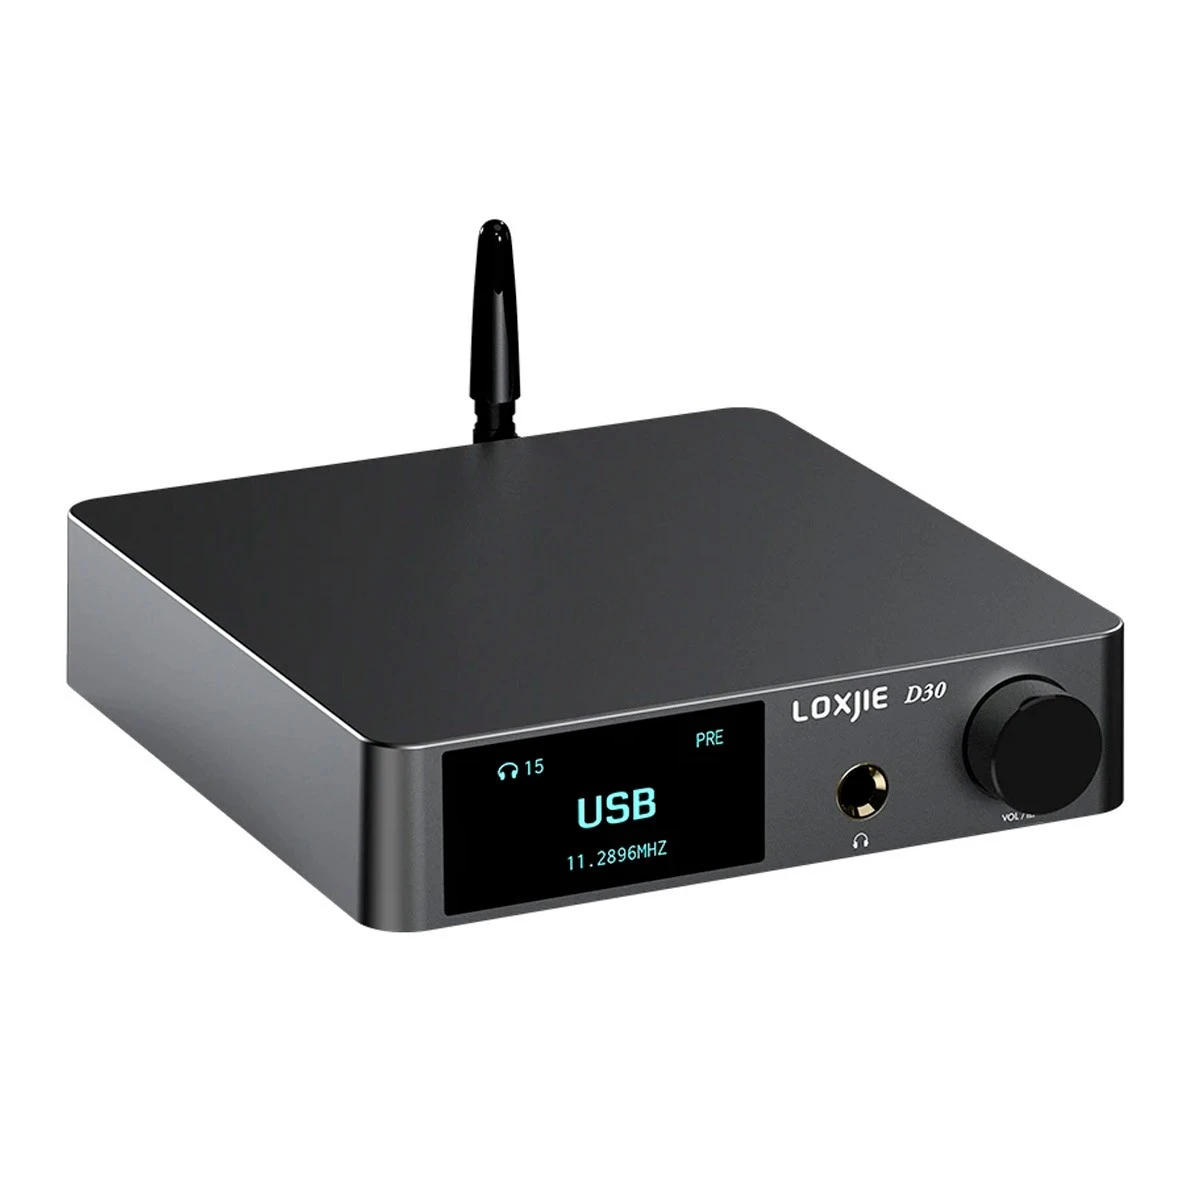
What I liked about the D30 is that it has a dedicated digital volume control and is able to change outputs from the headphone out to pre outputs. These are the key features which I need, so I sought to recreate them while eliminating the buzzing.
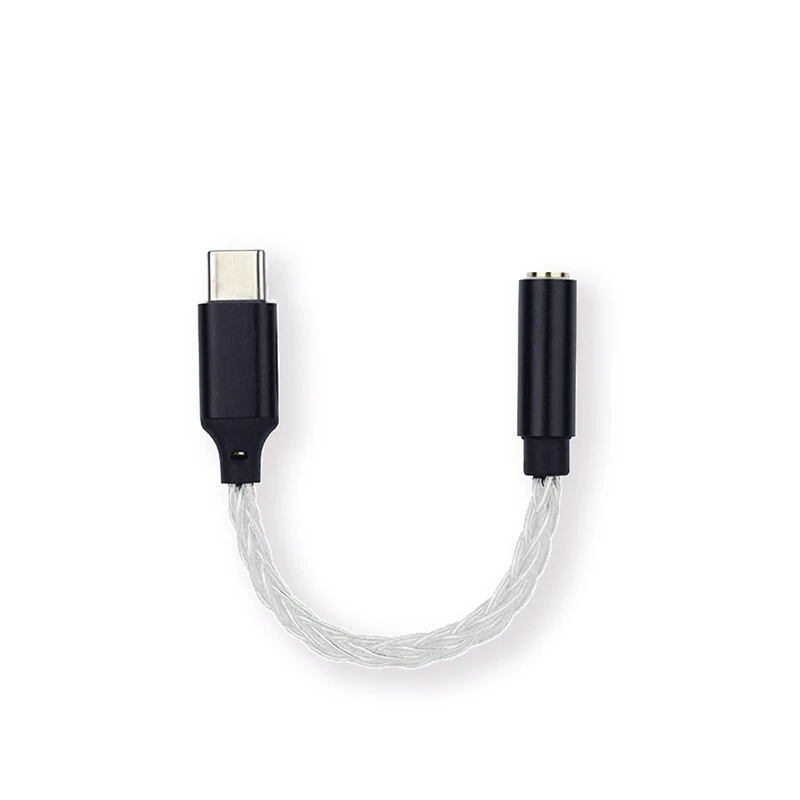
Recently in the audiophile world USB dongle DACs with almost flawless DAC implementations have become normal and offer super competitive performance at low prices. These DACs, like the JM20 which uses the Cirrus Logic CS43131 chip are super affordable (~$30). But they obviously don’t have a nice big volume wheel or the ability to change outputs from headphones to speakers.
I thought that I could recreate these features using the dongle DACs and micro controller using keyboard emulation.
I wanted to try the RP2040 and Micro/Circuit Python instead of using an Arduino, as I have always experienced unnecessary friction with Arduino.
I settled on Circuit Python as it’s super simple once setup, to flash the board, as you simply copy code.py to the board which is mounted like a USB drive.
Easy as Pi.
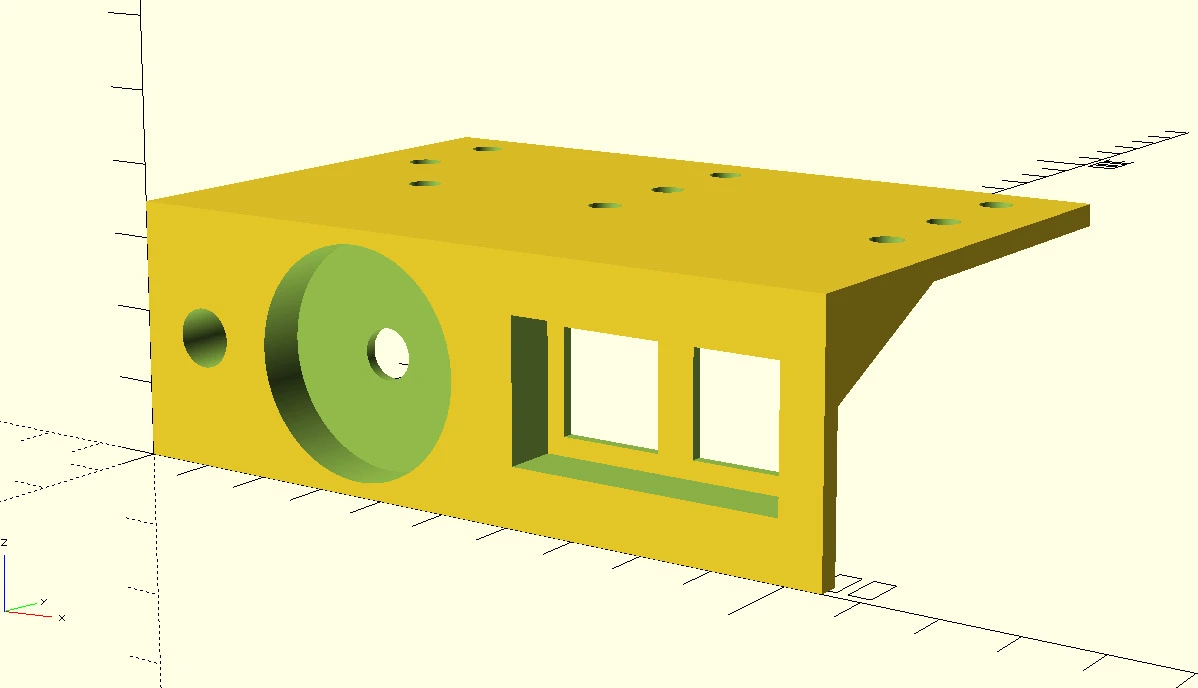
I designed a mounting solution in OpenScad to hold the DAC and volume control. OpenScad is good for simple parts but I found it more difficult for a more complex part like this. I had two versions 3d printed in resin and shipped to my door by JLC3D. These prints are incredible dimensionally accurate and where <$10 each shipped, amazing.
$fa = 1;
$fs = 0.1;

frontHeight = 35;

module dac() {
    diameter = 8;
    height = 25;
    wall = 1.8;
    rotate([0, 90, 90])
        difference() {
            cylinder(height, d = diameter + 2 * wall);
            cylinder(height, d = diameter);
            translate([0, -10, height/2]) rotate([0, 90, 90]) cylinder(height, d = diameter * 0.7);
        }
}

module knob() {
    wall = 1;

    // Encoder
    eW = 12;
    eH = 14;
    eD = 3;

    // Shaft
    sD = 7;
    plate = 1.5;

    // Knob
    kD = 31;
    kH = 8;

    // Container
    kC = kD + 2 * wall;

    translate([kC/2, eD, kC/2])
    rotate([0, 90, 90])
    difference() {
        difference() {
            cylinder(kH, d = kC);
            cylinder(kH, d = sD);
        }
        translate([0, 0, plate]) cylinder(kH, d=kD);
    }

    translate([kC/2, eD/2, kC/2])
    difference() {
        cube([eW + 2 * wall, eD, eH + 2 * wall], center = true);
        cube([eW, eD, eH], center= true);
    }
}

module switches() {
    hole = 14;
    key = 19.05;
    gap = 5.05;
    plate = 1.5;
    depth = 7.5;
    wall = 1;
    n = 2;

    module switch() {
        gap = (key-hole)/2;
        translate([wall, 0, wall])
        difference() {
            cube([key, plate, key]);
            translate ([gap, 0, gap]) cube([hole, plate, hole]);
        }
    }

    module suround() {
        thickness = plate + depth;
        height = key + 2 * wall;
        width = n * key + 2 * wall;
        difference() {
            cube([width, thickness, height]);
            translate([wall, 0, wall]) cube([n * key, thickness, key]);
        }
    }

    for(i = [0,n-1]) {
        translate([i * key, 0, 0]) switch();
    }

    suround();
}


module front() {
    module screw() {
        dia = 4.5;
        translate([0, dia/2, 0]) cylinder(100, d = dia, center = false);
    }

    module triangle() {
        w = 30;

        difference() {
            rotate([25, 0, 0]) cube([width, w, w]);
            mirror([0, 180, 0]) cube([width, 2 * w, 2 * w]);
            translate([0, 0, w/2]) cube([width, 2 * w, 2 * w]);
        }


    }

    width = 105;
    depth = 3;
    cube([width, depth, frontHeight]);

    translate([0, 0, 20]) triangle();

    screwArms = 20;
    translate([0, 0, frontHeight-depth])
    difference() {
        cube([width, 2*frontHeight, depth]);
        translate([screwArms * 1.1, 30, 0]) screw();
        translate([width-screwArms/2, 30, 0]) screw();
        translate([width/2, 30, 0]) screw();

        translate([screwArms/2, 45, 0]) screw();
        translate([width-screwArms/2, 45, 0]) screw();
        translate([width/2, 45, 0]) screw();

        translate([screwArms/2, 60, 0]) screw();
        translate([width-screwArms/2, 60, 0]) screw();
        translate([width/2, 60, 0]) screw();
    }
}


translate([60, 9, (frontHeight-(19.05+2))/2]) mirror ([0, 180, 0]) switches();
difference() {
    front();
    translate([10, 0, frontHeight/2]) rotate([0, 90, 90]) cylinder(25, d = 8 + 2 * 1);
    translate([36.2, 0, frontHeight/2]) rotate([0, 90, 90]) cylinder(100, d = 31.2);
    translate([60, 0, (frontHeight-(19.05+2))/2]) cube([19.05*2 +2, 100, 19.05+2]);

}
translate([10, 0, frontHeight/2]) dac();

translate([19.65, 11, (frontHeight - 33) /2]) mirror([0, 180, 0]) knob();
Wiring up was easy as controller only has a few buttons.
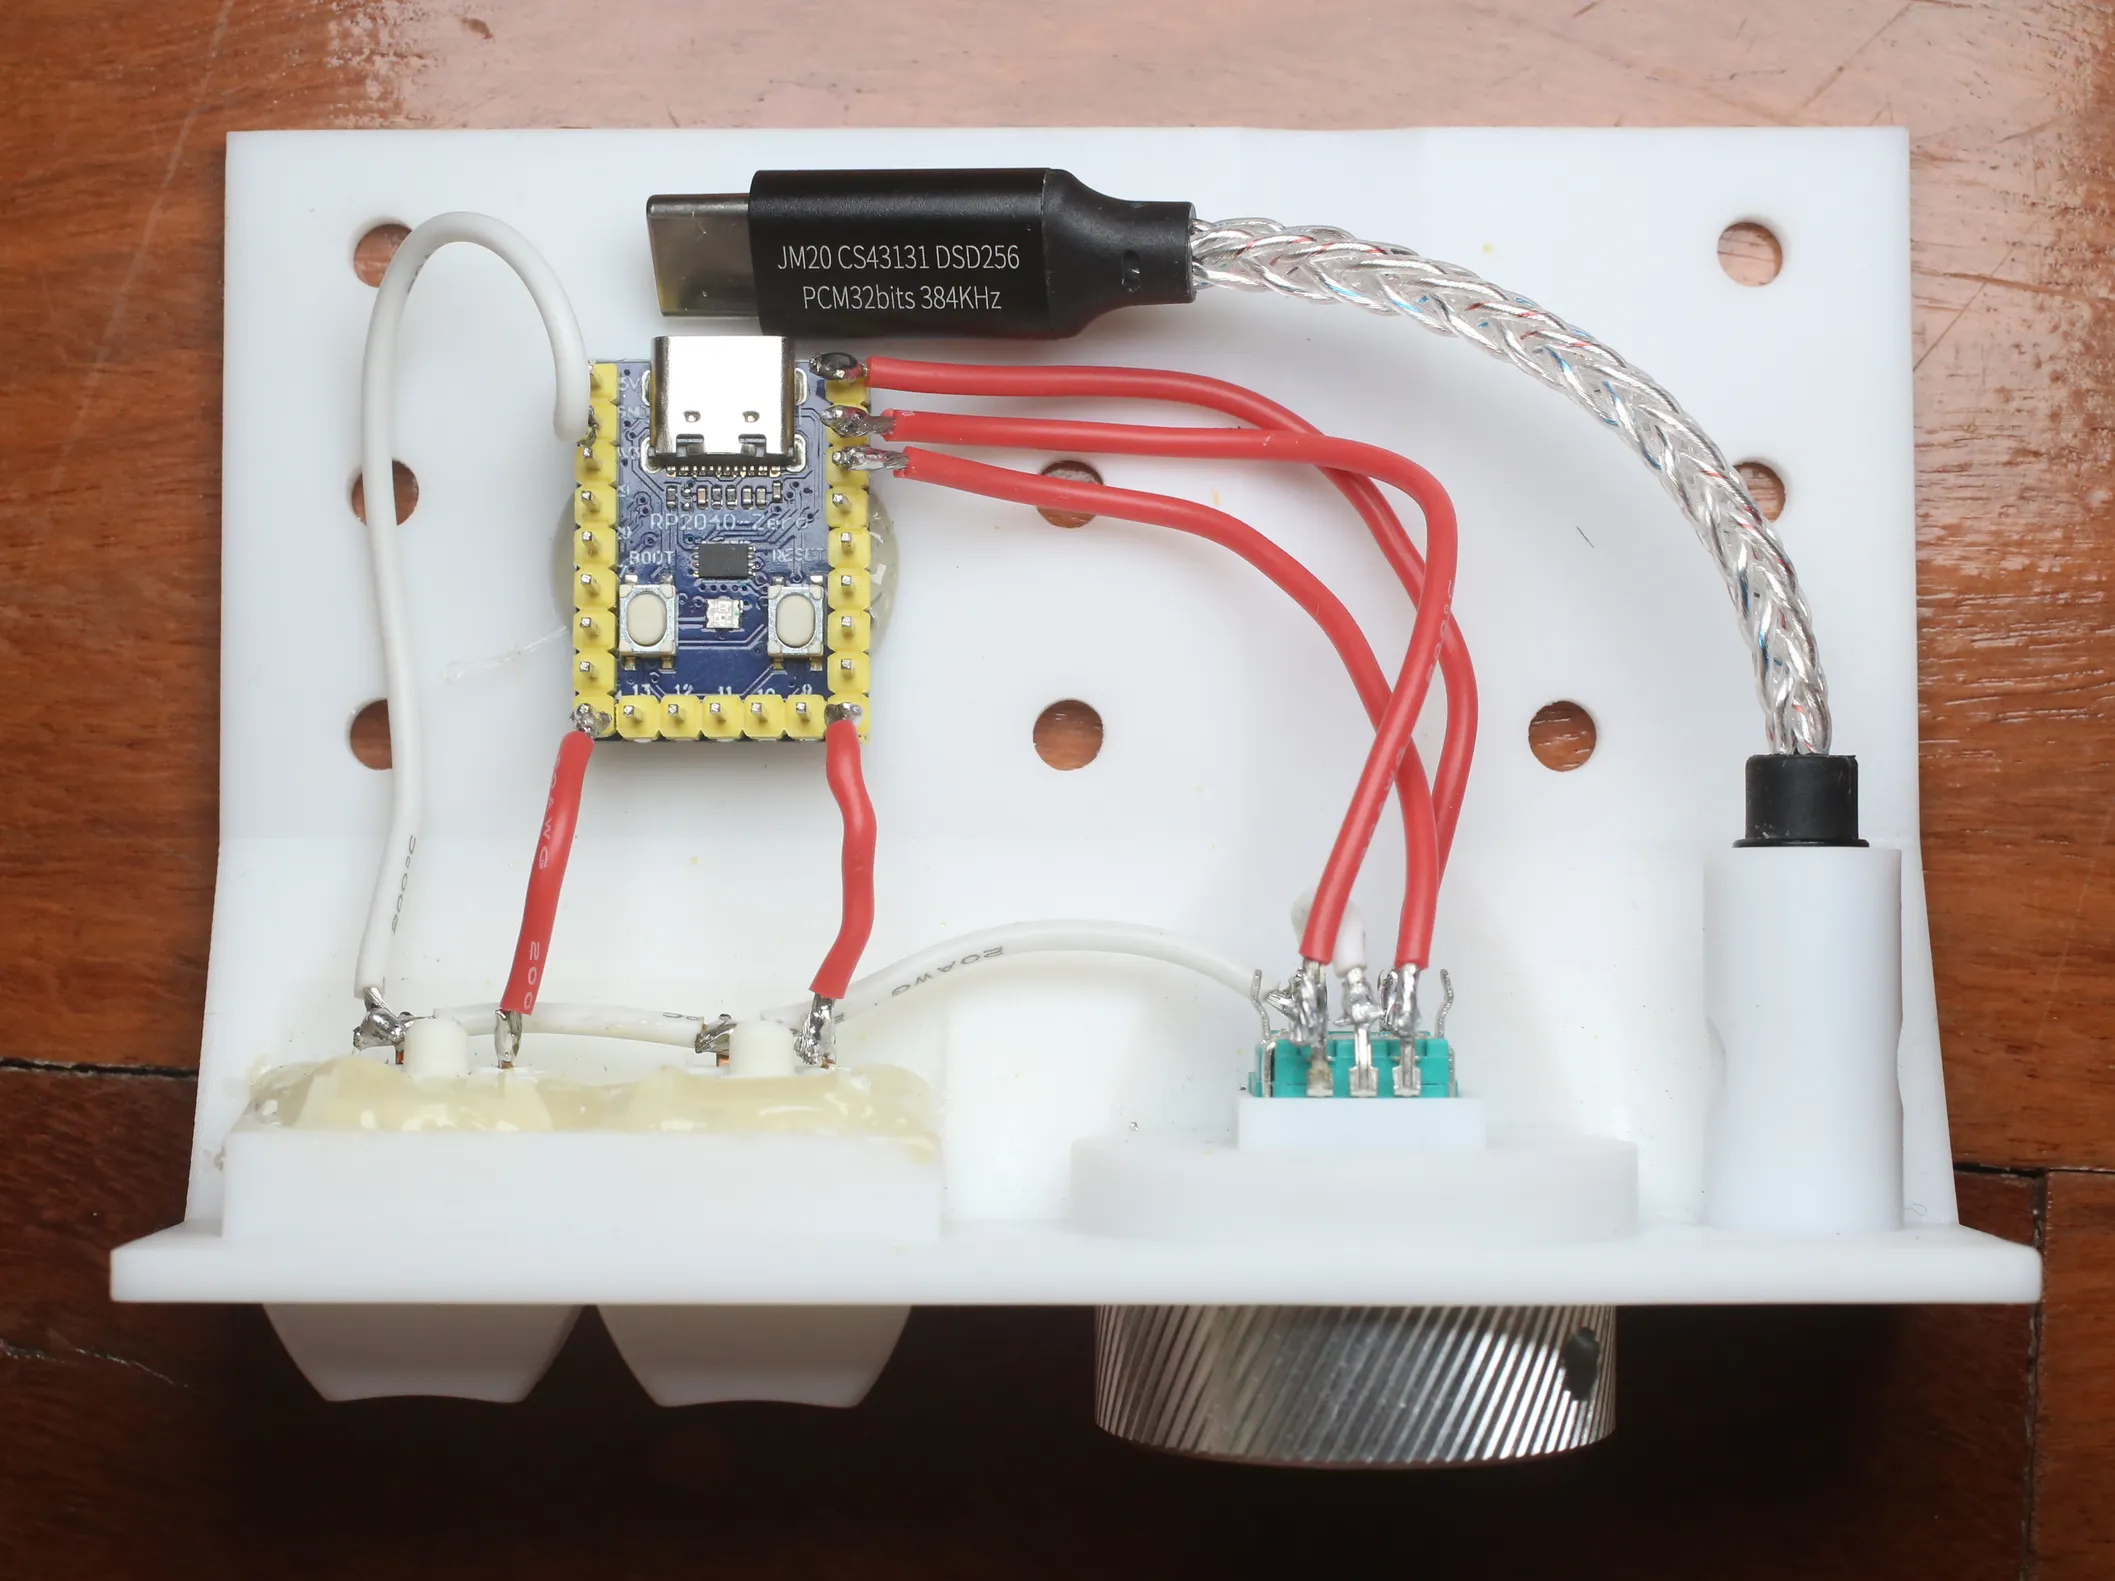
The code I wrote to get the volume control working is very rudimentary. It uses Adafruit’s keyboard emulation libraries (Which you have to add circuit pythons lib folder) to leverage keyboard volume control shortcuts. When you turn the dial it sends a volume up key press to the computer. This works well, however there is no keyboard command to change the outputs.
import board
import neopixel
import time
import rotaryio
import digitalio
import usb_hid
from adafruit_hid.consumer_control import ConsumerControl
from adafruit_hid.consumer_control_code import ConsumerControlCode
from adafruit_hid.keyboard import Keyboard
from adafruit_hid.keycode import Keycode

debug = False
pixel = neopixel.NeoPixel(board.NEOPIXEL, 1, brightness = 0.02, auto_write=False)
cc = ConsumerControl(usb_hid.devices)
keyboard = Keyboard(usb_hid.devices)

# Rotary Encoder
rot_press_pin = board.GP0
rot_up_pin = board.GP1
rot_down_pin = board.GP2

# Mute / Unmute
mute_pin = board.GP8
# Change Inputs (Speakers / Headphones)
change_input_pin = board.GP14

def setupButton(pin):
    btn = digitalio.DigitalInOut(pin)
    btn.direction = digitalio.Direction.INPUT
    btn.pull = digitalio.Pull.UP
    return btn

def setColour(colour):
    if (debug):
        pixel.fill(colour)
        pixel.show()

encoder = rotaryio.IncrementalEncoder(rot_up_pin, rot_down_pin, divisor = 2)
rot_press = setupButton(rot_press_pin)
key1 = setupButton(mute_pin)
key2 = setupButton(change_input_pin)

lastpos = 0;
while True:
    curr = encoder.position
    if (curr != lastpos):
        if (curr > lastpos):
            setColour((0, 255, 0))
            cc.send(ConsumerControlCode.VOLUME_INCREMENT)
        else:
            setColour((255, 0, 0))
            cc.send(ConsumerControlCode.VOLUME_DECREMENT)
        lastpos = curr
    if (not rot_press.value):
        setColour((0, 0, 255))
        # cc.send(ConsumerControlCode.MUTE)
        # time.sleep(0.5)
    if (not key1.value):
        setColour((0, 255, 255))
        keyboard.send(Keycode.CONTROL, Keycode.ALT, Keycode.SHIFT, Keycode.M)
        time.sleep(0.5)
    if (not key2.value):
        setColour((255, 0, 255))

    time.sleep(0.01)
On Linux this is can be achieved easily by writing a shell script to change between the two audio sinks. Then binding that script to a keyboard shortcut and programming that to the RP2040 on one of the button presses.
#!/bin/bash

# Get the list of sink names
#     pactl list short sinks
# Get your current sink name
#     pactl get-default-sink

# Identify your sink names (change these strings to match your device names)

SINK1="..."
SINK2="..."

# Get current default sink
CURRENT=$(pactl get-default-sink)

if [ "$CURRENT" == "$SINK1" ]; then
    pactl set-default-sink "$SINK2"
else
    pactl set-default-sink "$SINK1"
fi
This simple project achieved my goal of getting clean audio with volume and output control.